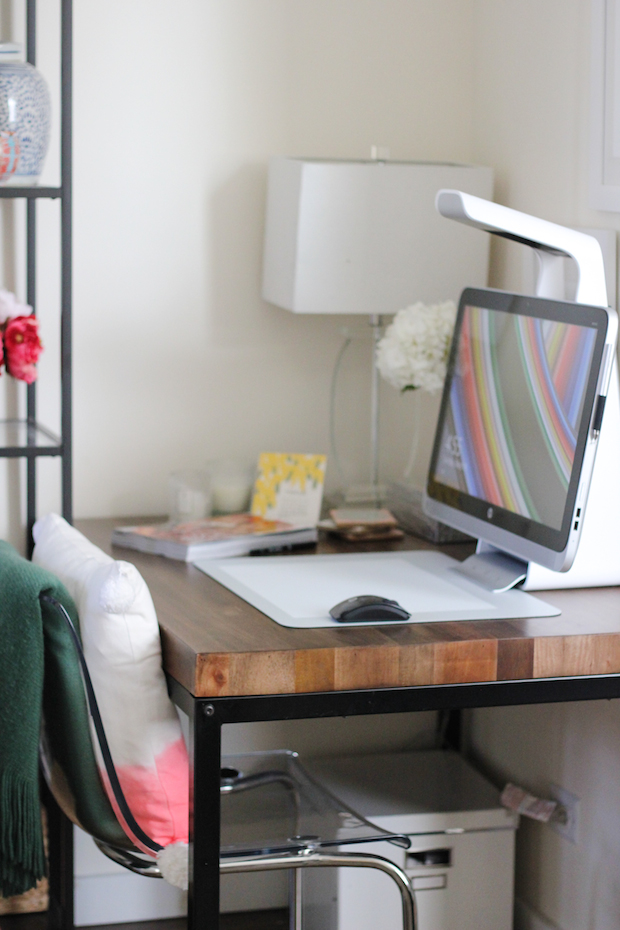
Pillow: Liv + Work  •  Table: Mudhut table from Target (currently on sale)
Lately, I’ve been really inspired by floral and citrus prints. I’m a huge Pinterest fan and if you follow along with me you’ll notice I love the bright colors and often find myself drawn to bright citrus fruits and floral patterns.
I have a few friends I’ve been wanting to make homemade cards for – lots of babies, engagements, job celebrations, and some that I just want to know that I’m thinking of. Sending people flowers can get really expensive after a while, so I thought it would be fun to send flowers in the form of a card.
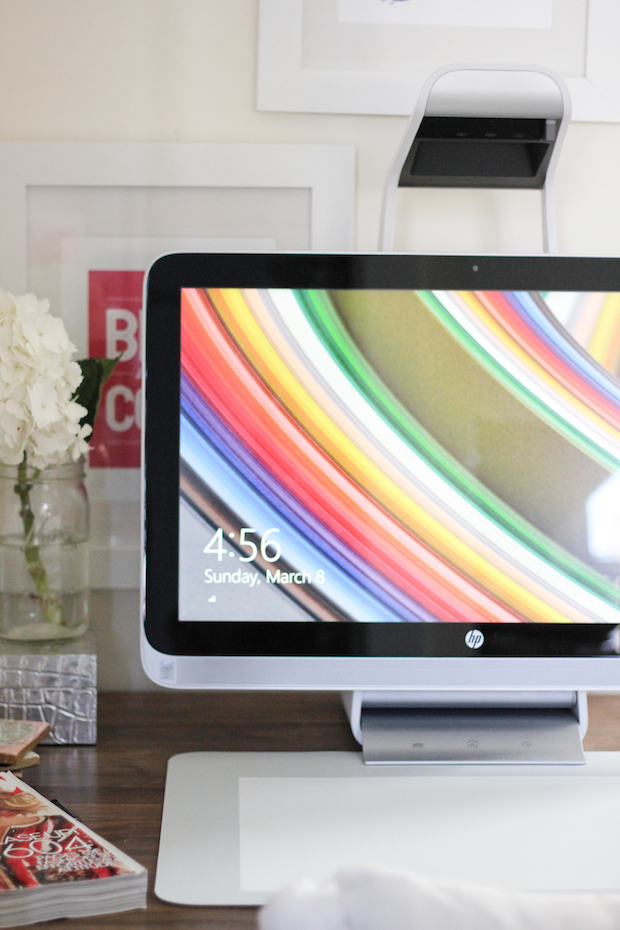
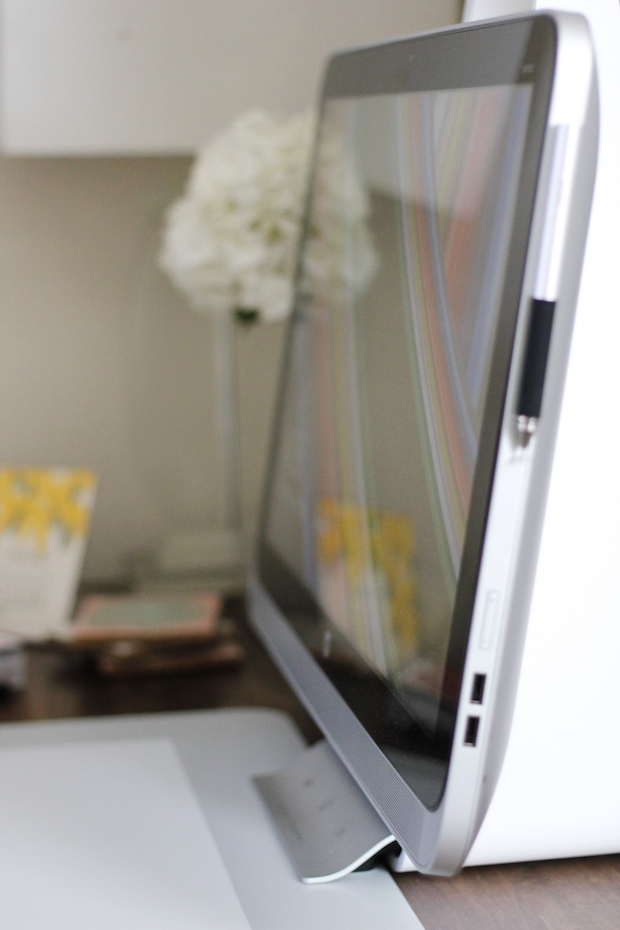
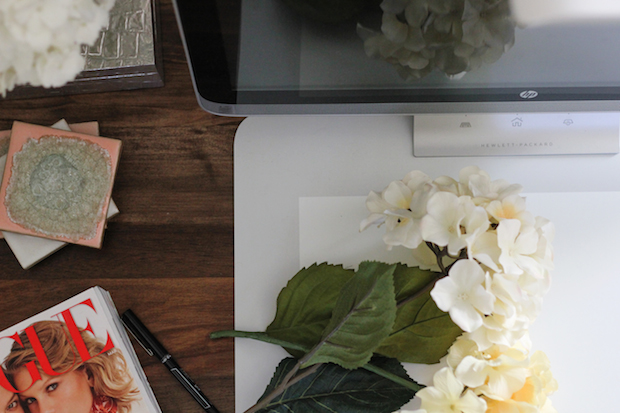
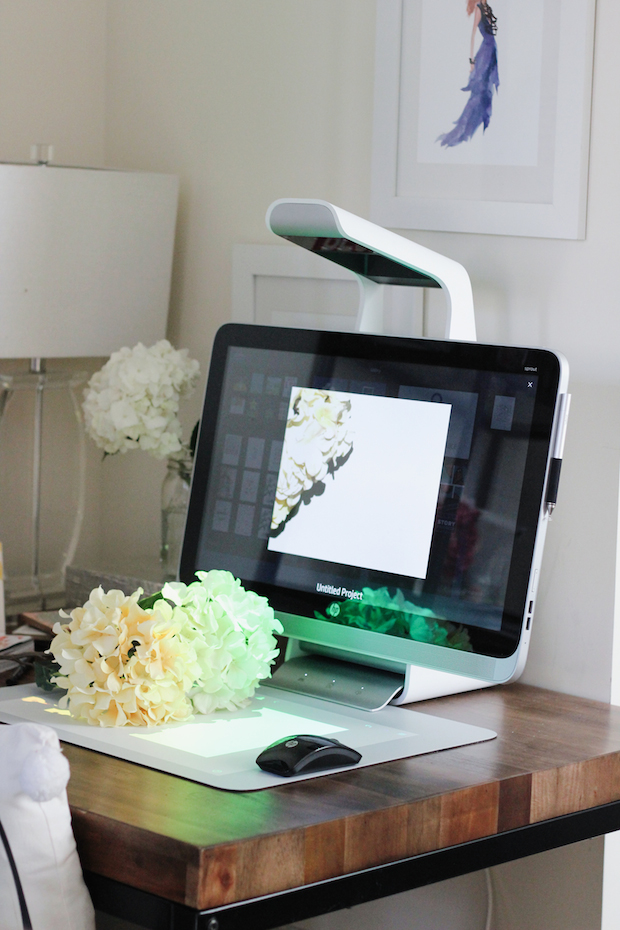
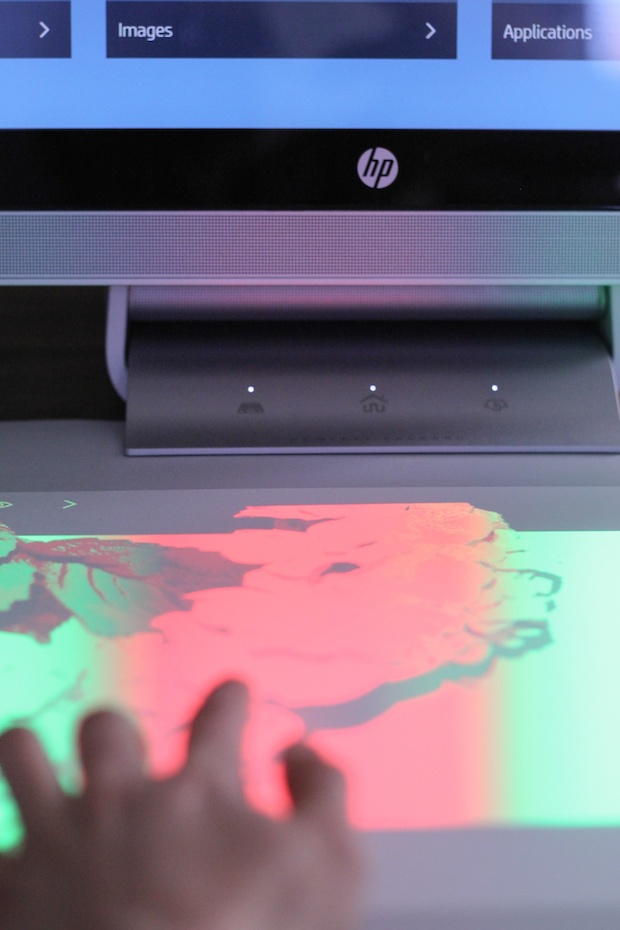
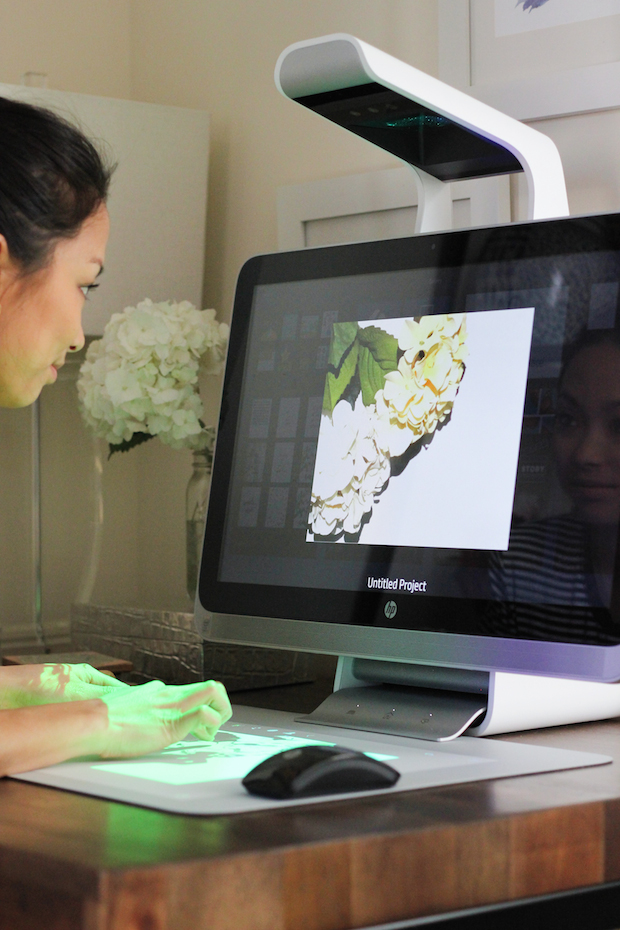
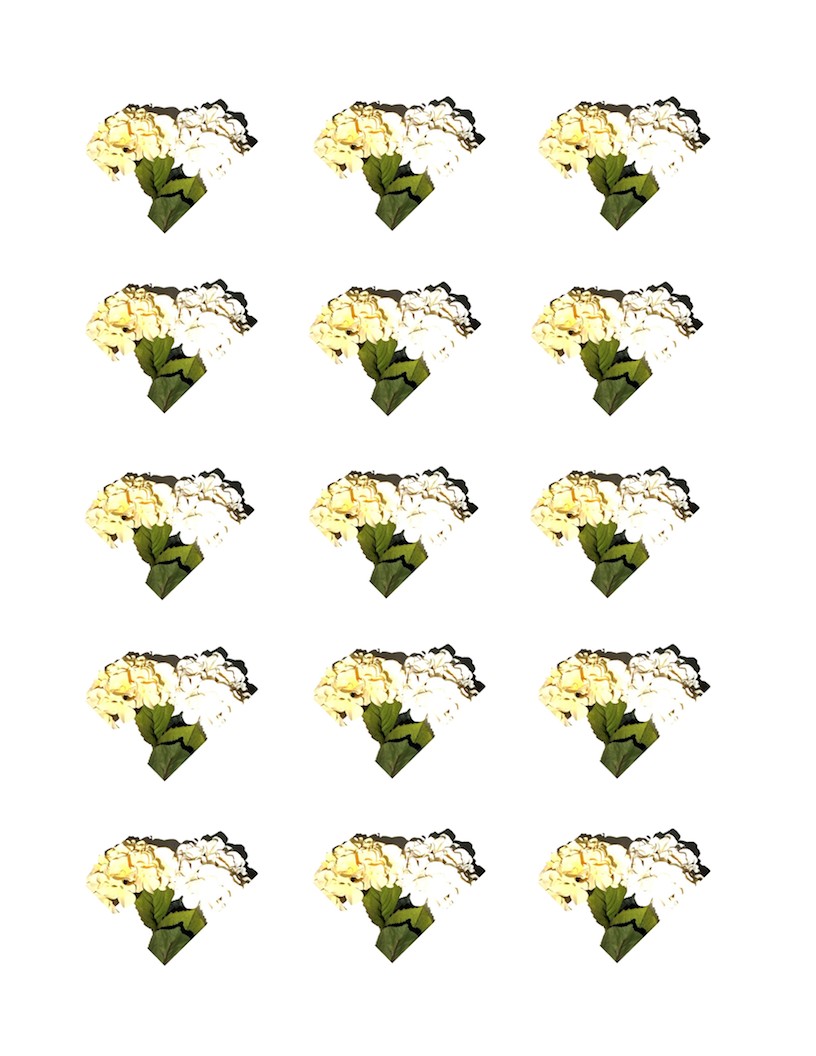
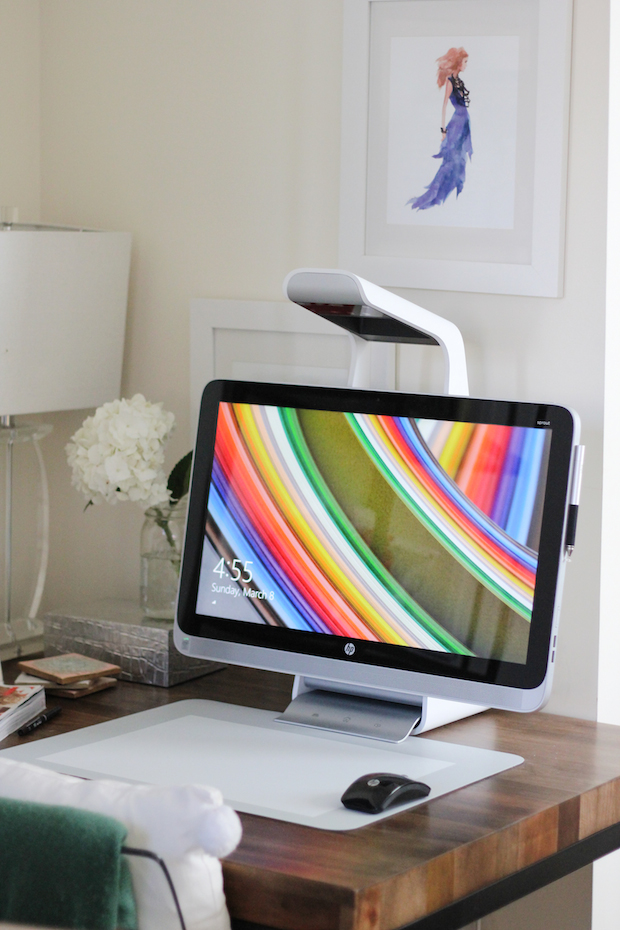
I have been playing with my Sprout a lot (it’s one of my favorite post-long-work-day activities) and decided it would be fun to do this one digitally! I scanned in some flowers that I picked up for a visitor in town last weekend. Once they were scanned, I could use my fingers to shrink and resize. I shrank them down and turned them until they looked like they were in the shape of hearts, then I made copies of them and formatted them in a grid.
You can take a colored marker and write a message over the top, a black ink pen and write a message in between the lines, or leave it as is and write your message on the inside.
If you would like to print these, download them below! If you’re putting it on a folded card, make sure you shrink this image to 50% before printing. Enjoy!
- DOWNLOAD // Flower Hearts
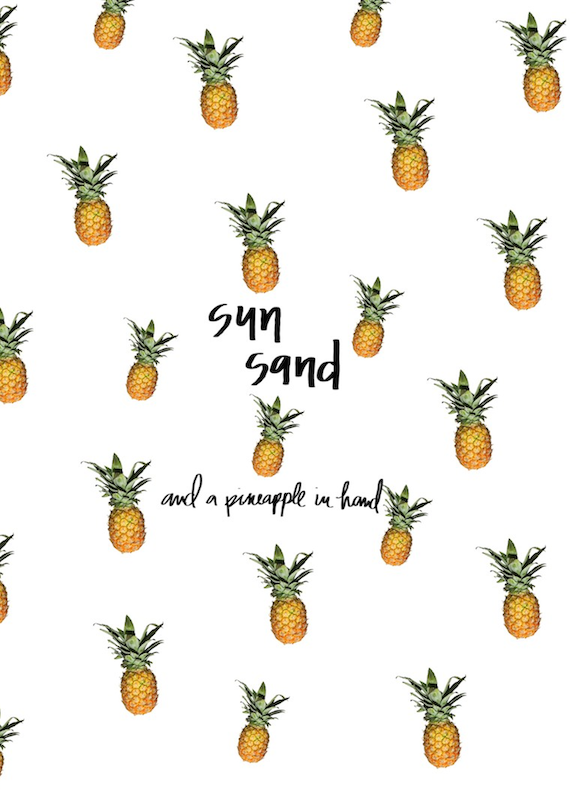
- DOWNLOAD // Sun, Sand & Pineapple In Hand
More DIY Printables this way!
This post is part of a collaboration with Sprout by HP. Thank you for your continued support!


[…] amazing is this HP Spout […]
Such a great idea! Love the results:)
x Fiona THEDASHINGRIDER.com
Very cute cards!
Liz @ ShoppingMyCloset.com
what a cool concept!! I need to start printing my photos again. I used to ALL. THE. TIME. Somewhere along the way, everything just got too digital!
The Style Scribe