If you’ve been following my blog for a while you’ve probably noticed that I hardly ever wear my hair totally straight. If you know me in real life you’ve probably rarely seen me that way as well. I just haven’t typically liked the way that my hair looked straight.
A few months back my best girlfriends were in town visiting and my friend borrowed my blow dryer. “Christine! Your blow dryer is awful how do you live like this?!” she exclaimed. I was so confused, because I’ve just had the same old thing for years now. I didn’t realize it was having such an impact on my hair, and my blowouts.
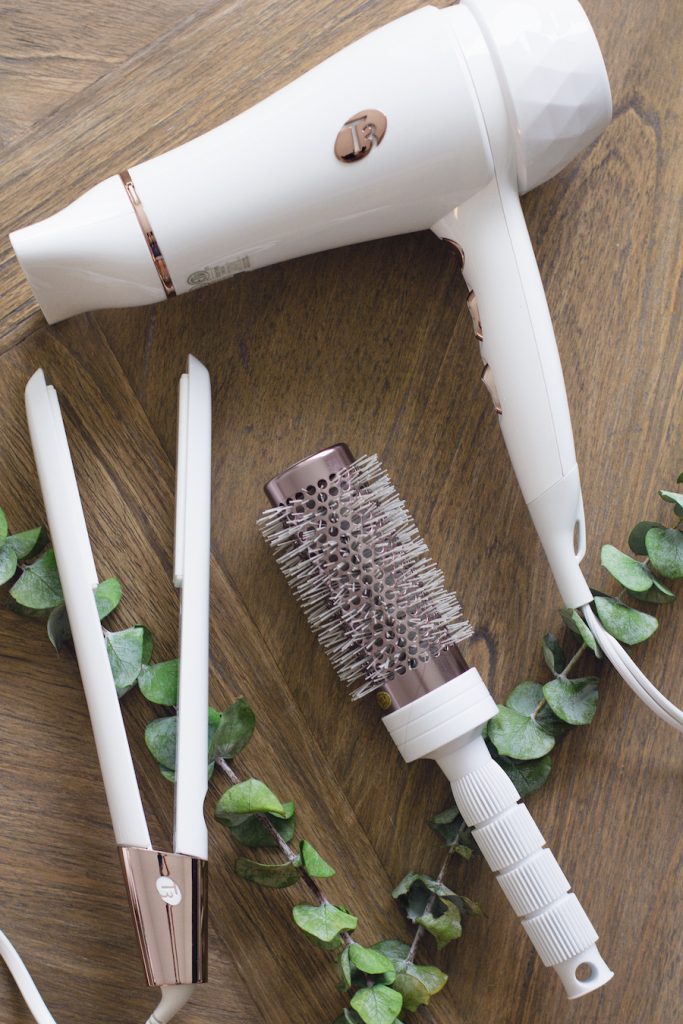
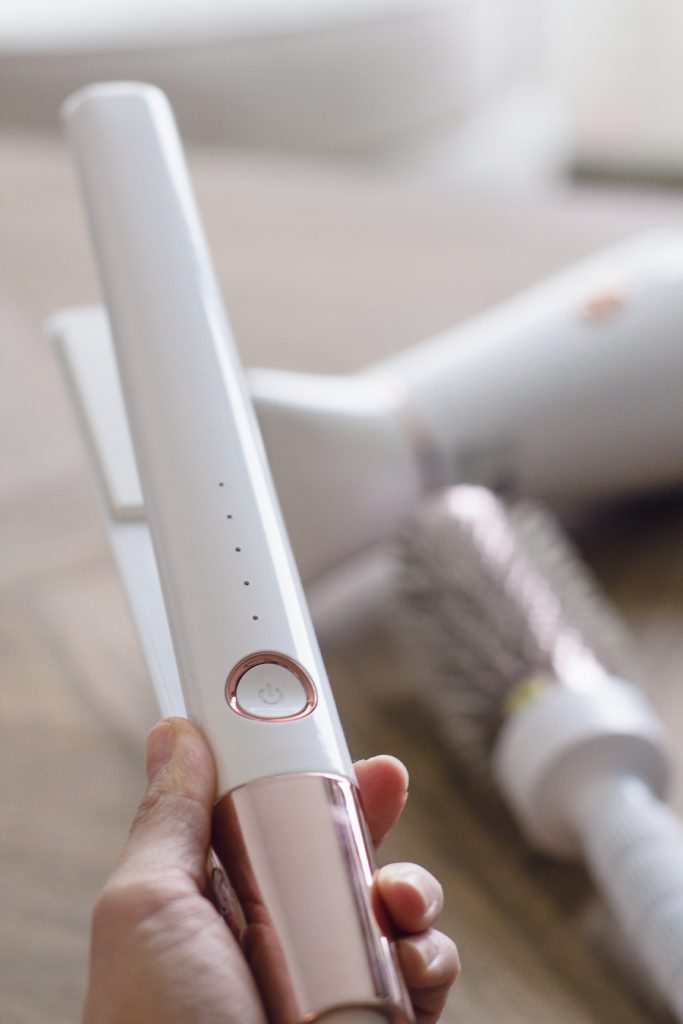
I decided it was time to take matters into my own hands and make this process so much smoother and more enjoyable. Thanks to the T3 team I’ve been using the featherweight blowdryer and singlepass luxe straightener and they’ve been game changers!
I recently started trying to blow my hair out more frequently at home and have narrowed down the process to 5 key steps to make sure I end up with a sleek, polished look.
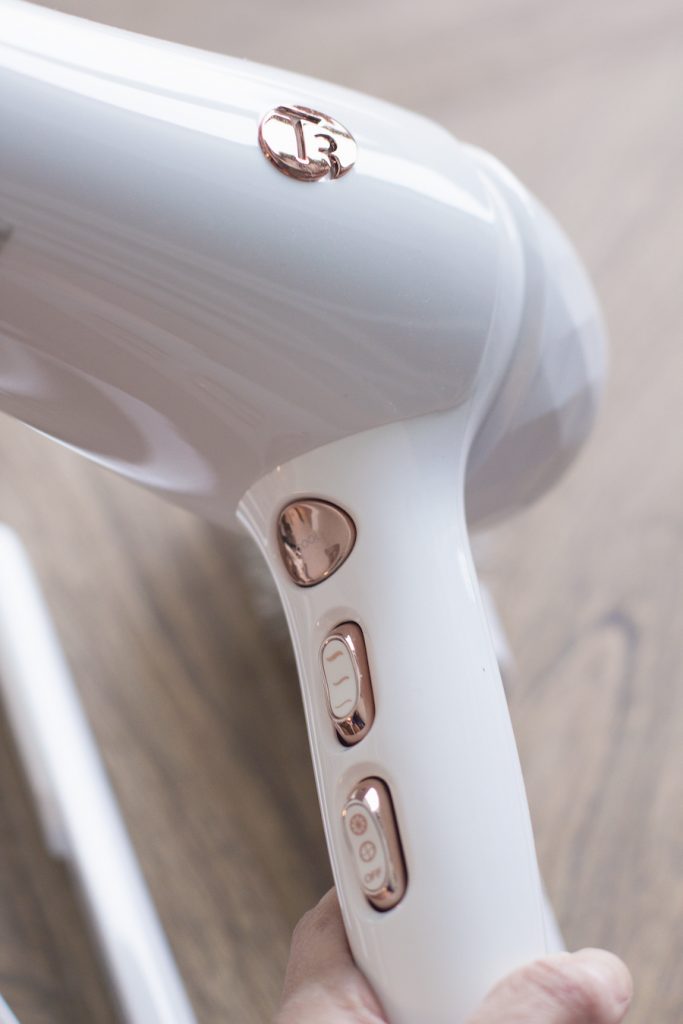
The settings on the blowdryer allow for extra control on heat and strength. I also love the rose gold details! Alright, now for the steps:
Step 1: Prep Your Hair
I usually will start with a little bit of product and what I want will determine what I use. In this case I’ll probably use Living Proof’s 5-in-1 styling treatment to give some smoothness and polish to my hair but also have something that could lend to some volume as well. I’ve started using sprays that cut down on the drying time so that step #2 becomes even quicker. The last thing you want to do is spend 45+ minutes blowing out your own hair, so I’m all about cutting down on the drying time.
Step 2: Loosely Dry
I usually will flip my head over and loosely blowdry my hair until it’s about 3/4 of the way dry. You want a little bit of dampness but it shouldn’t be soaking wet. This will help make it easier to get the sleek look you want!
Step 3: Section Off
I’ve found that it’s best to start with the part of your hair that you care the most about first because you don’t want that to dry funky. It’s different when you’re getting your hair blown out by someone else, but I’ve found this works best for me. I usually section of the front pieces around my face and start with the section about 1-2″ deep at the top center of my forehead. I use a round brush for that section and wrap around the brush going away from my face. After the front pieces by my face I’ll section everything else off and start from the bottom and work my way up.
Step 4: Straighten
I don’t typically use a straightener the way that I did when I was 15 – it’s not a squeeze as hard as you can on the same sections over and over again kind of thing. I usually will plug it in and just go over my hair from the roots to smooth it out and then will lightly flip the ends to give my hair some body. My hair is stick straight, so I like a little something on the ends!
Step 5: Finish The Look
I swear by L’Oreal Elnett Hairspray as my last step, but I’ve also recently started using KMS Hairplay to give a little volume (did you know you can use dry shampoos to help with that?) and also finish the look.
The end result is a sleek, beautiful blowout that usually only takes me about 10-15 minutes. Even if I don’t want a totally “straight hair look” I use the straightener to smooth some of the pieces and twist the ends a bit so that they have some body.
And that’s it! It’s really not as intimidating as an “at home blowout” sounds, and leaves my hair in great shape for the day (or even two).
SHOP THE POST
T3 FEATHERWEIGHT HAIRDRYER c/o • T3 SINGLEPASS LUXE STRAIGHTENER


